
PersonalizerAI app requires a service account key to access Retail AI API on your Google Cloud Project. This guide walks you through creating a service account in your Google Cloud Project and getting a service account key file to upload to PersonalizerAI app.
A service account as a JSON file is required to authenticate PersonalizerAI to use Retail AI. To create a service account, follow the steps below:
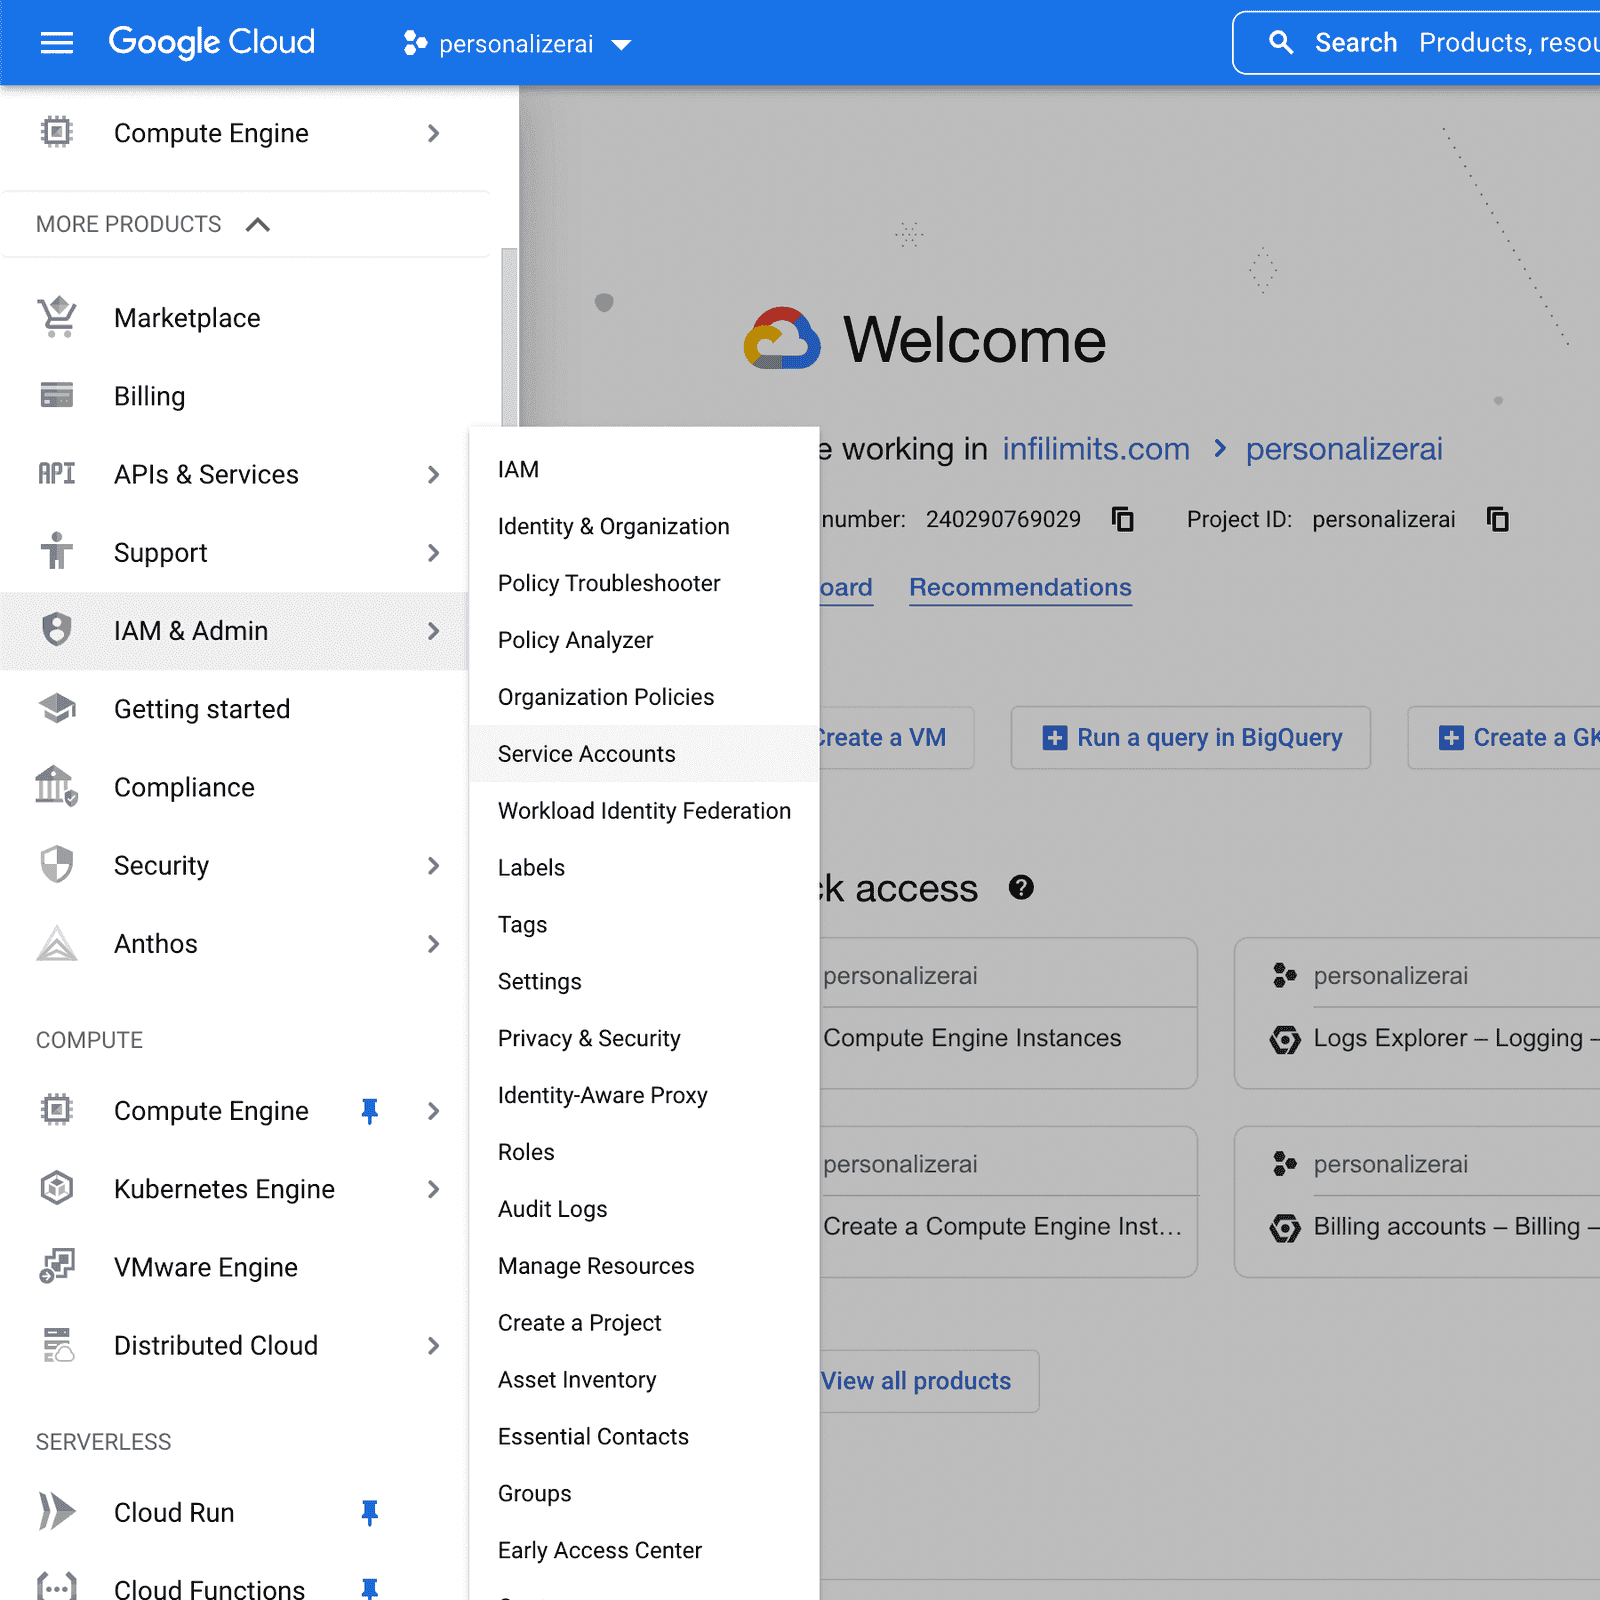
1. Log in to your Google Cloud Console and click on the hamburger icon at the top left corner.
2. Hover on IAM & Admin > then click on Service Accounts.
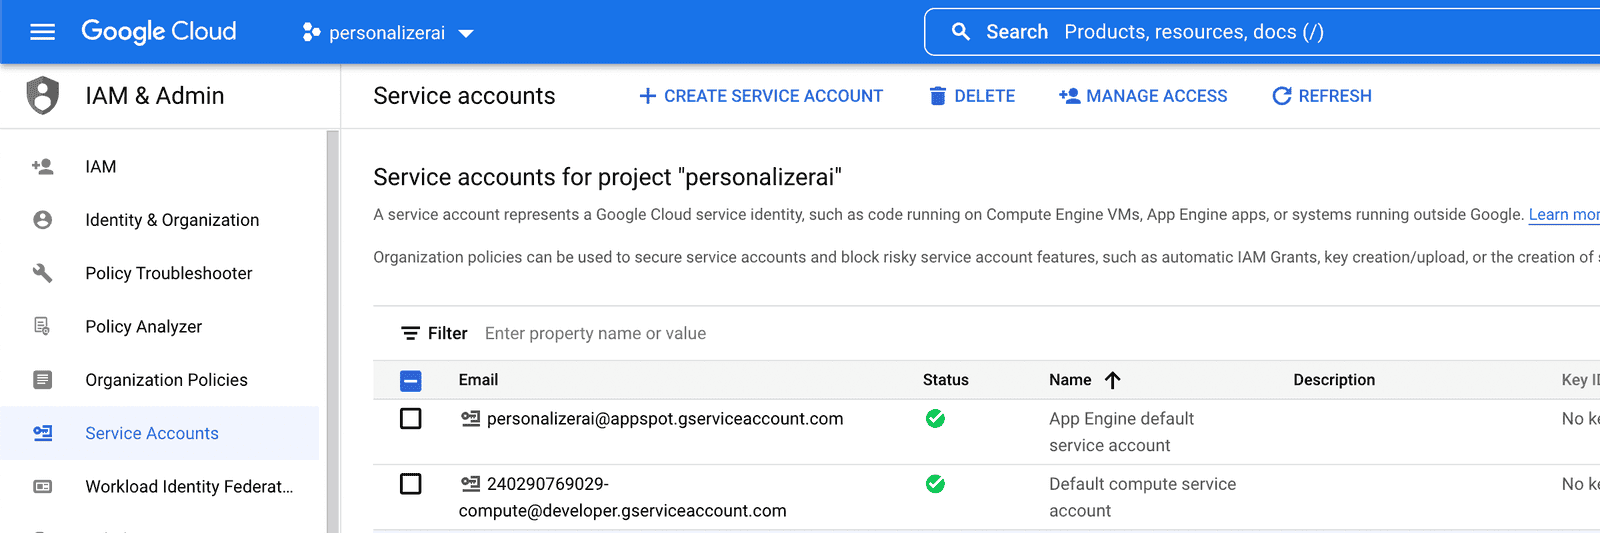
3. Click on + CREATE SERVICE ACCOUNT.
4. Provide Service account details including the account Service account name, Service account ID, and Service account description. Click CREATE AND CONTINUE.

5. In the Grant this service account access to project step, grant these roles:
- Retail Admin
- Retail Service Agent
- Service Account Token Creator

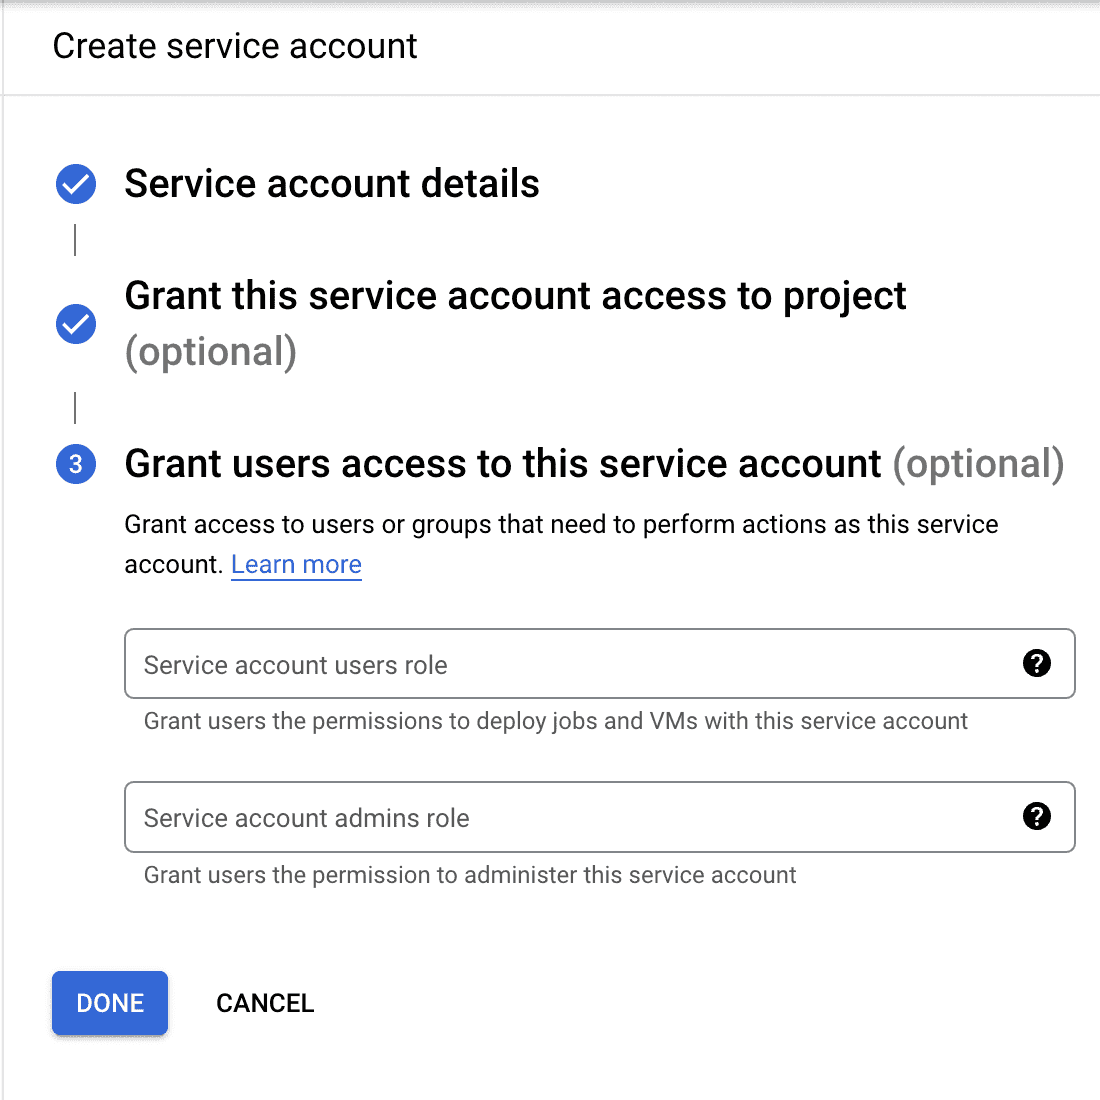
6. You can leave the Grant users access to this service account step as is. And click on Done.
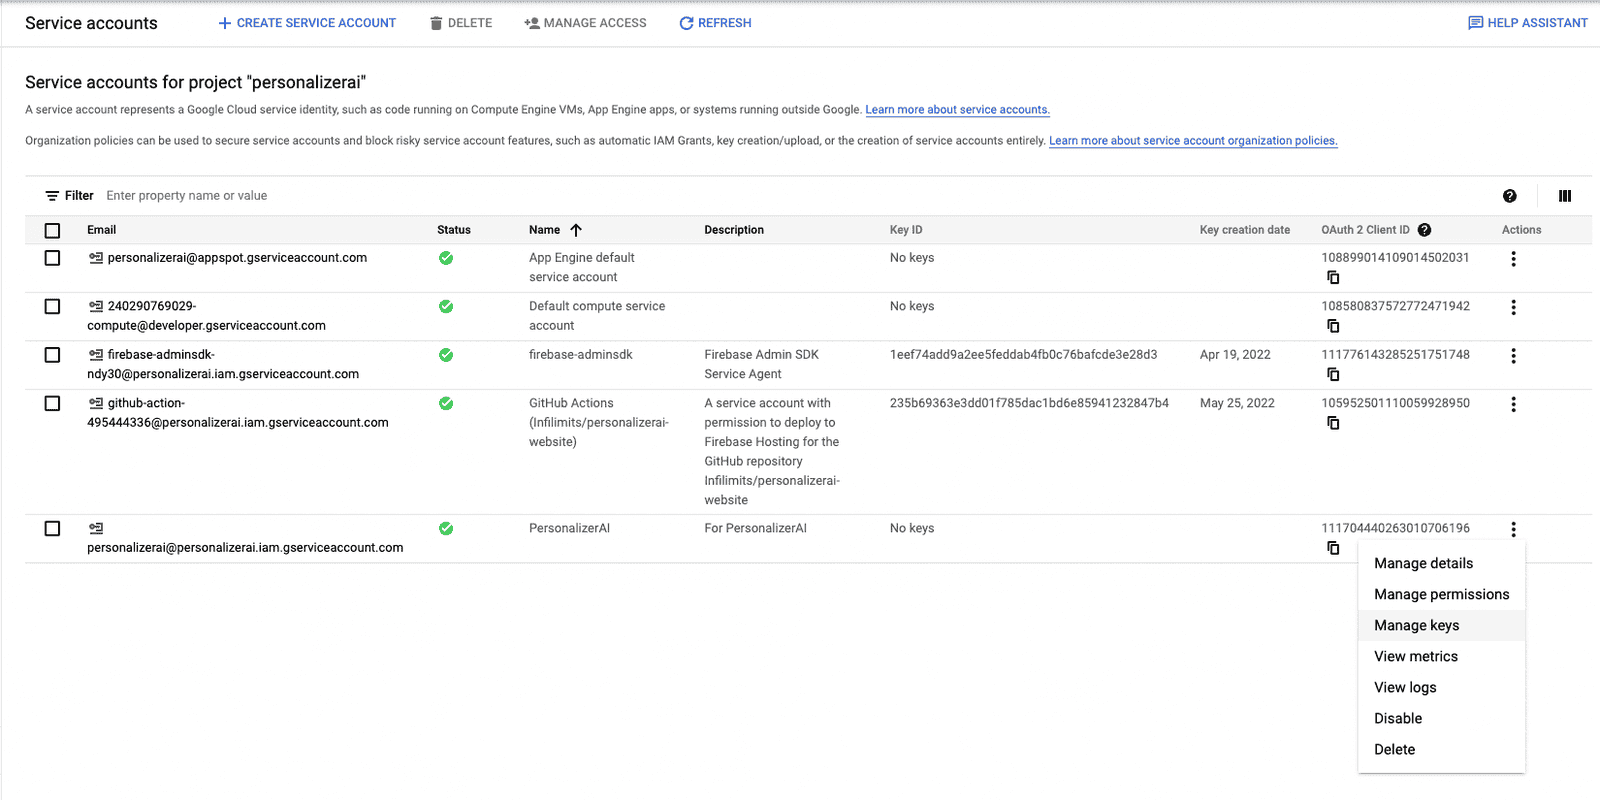
7. After that you will be redirected back to the Service accounts page. Here you need to click on the 3 vertical dots in the Actions columns and select Manage keys.
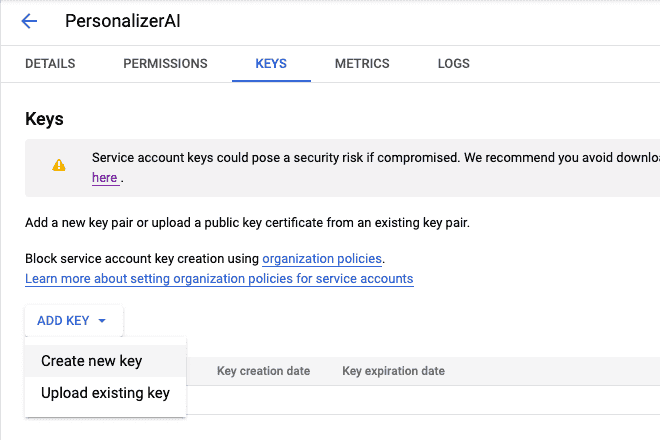
8. Now on the Keys page click on ADD KEY, then Create new key.
9. A modal will open where you need to ensure that Key type is JSON. Click on CREATE.

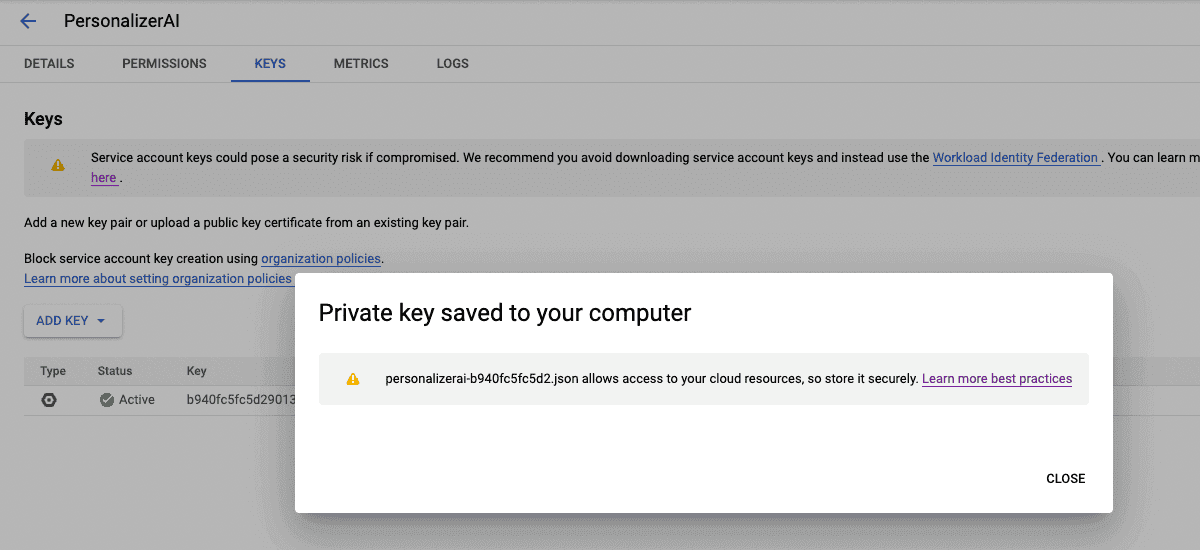
10. The service account key will be downloaded as a JSON file on your computer. You can then upload this file in the PersonalizerAI app.
Incase you are stuck at any step, please contact us at support@personalizerai.com